The Last Throw of the Dice
Turn 13. The sun is setting and visibility has reduced to 12" (480yds). Fire from over that range, such as at the breastworks, is counted as blind fire- and is only slightly more effective than a meringue axe-head.
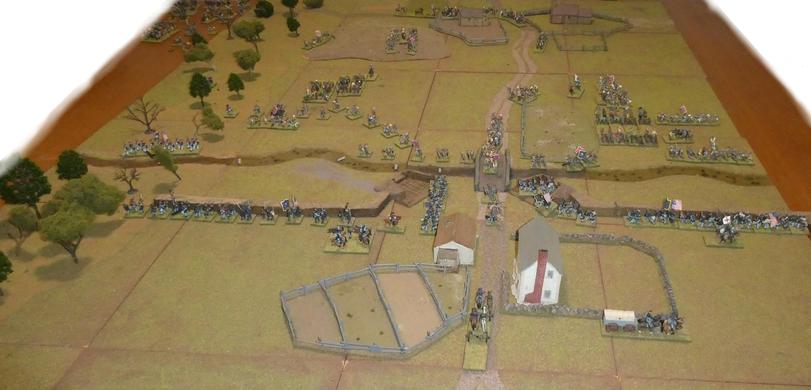
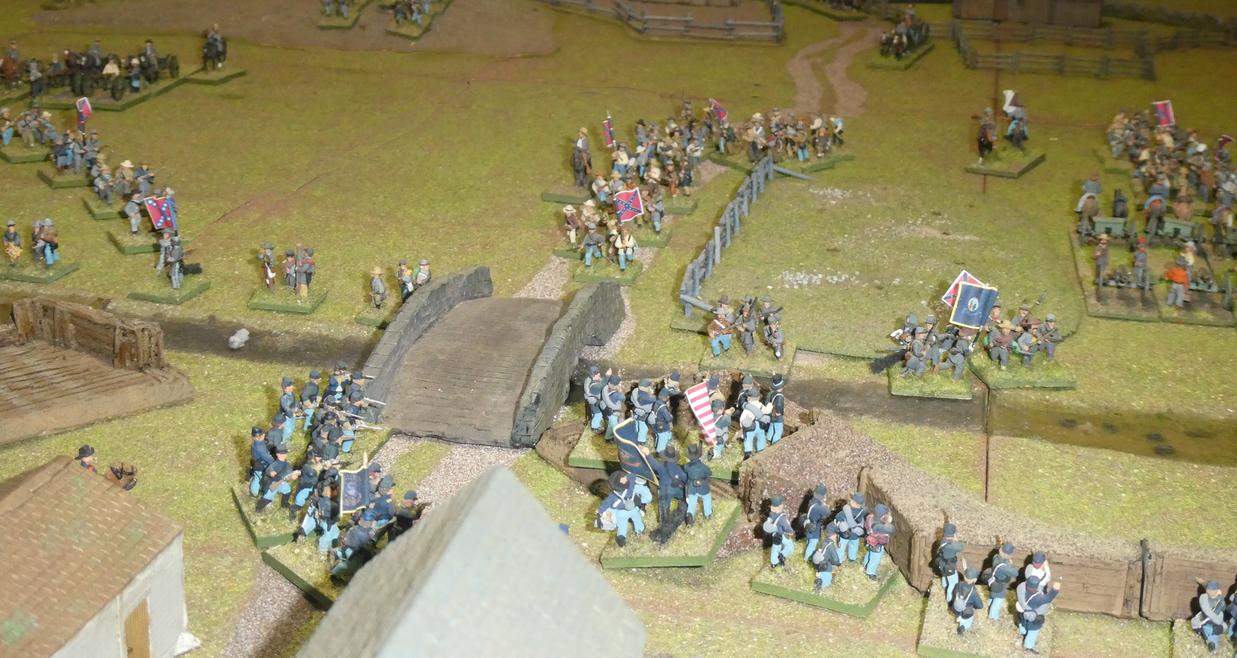
The battlefield at the start of Game Turn 13. Ignore the troops at the top left, off the field. They're ghosts.
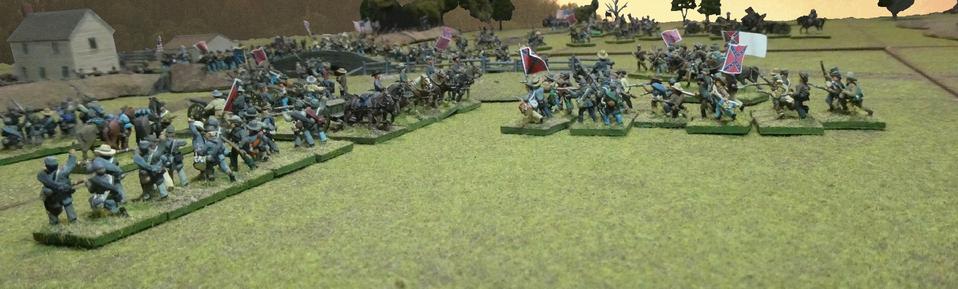
On my right the 95th is about to see off my 7th La. The 8th La has formed line and will right wheel and attempt to close on the 95th Pa's flank, while the 6th will return to the 95th's front and engage them. The 9th La is heading over to support the 31st Va. Bill's 1st WV CAV have left the breastworks and are presenting their flank to the 31st VA- who, from their shooting incapability, don't know what to do with it. The rest of the Avery's Virginia brigade is still traipsing over the hill- a mistake on my part and they should have gone around it.
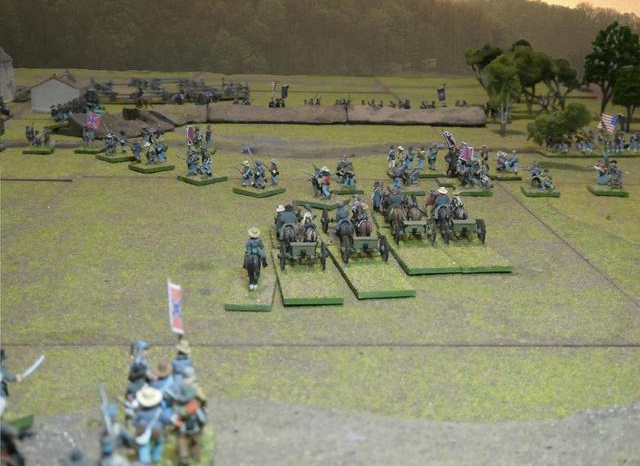
The right flank, with the 31st Va staring at the Yankee cavalry. 9th La is just about to join them.^
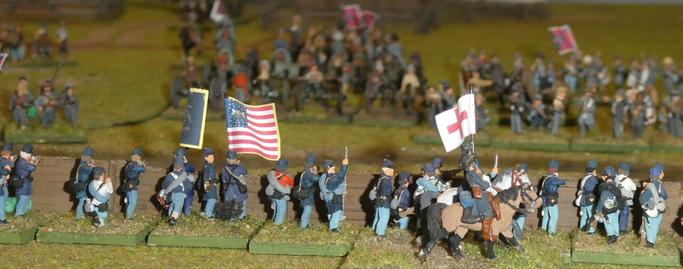
On my left the 6th NC has taken a hammering, and moved to their right to unmask the guns. 21st NC has reached the river and is (ineffectively) engaging the Yanks behind the breastworks. The 96th Pa concentrates its fire and wipes out the last of the 10th Va CAV- who still hadn't found a ford. The gunnery causes a few casualties, but Bill saves most of them.
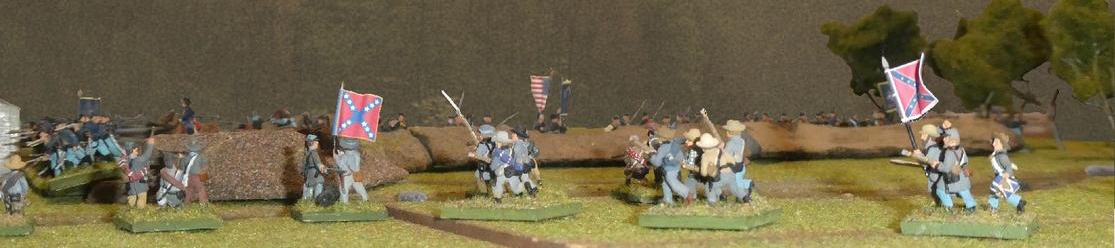
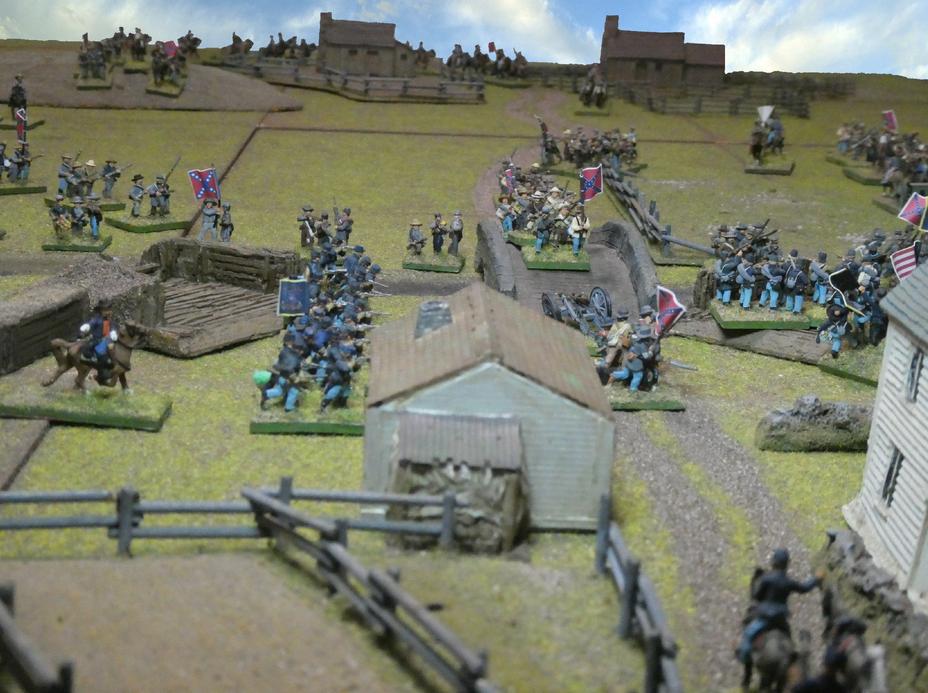
Combat at the southern breastworks.
Near the east end of the bridge Gordon orders his regiments closest to the bridge- 61st Ga leading the 60th Ga, both in march column, and the 26th Ga in attack column- to charge over the bridge. He has a slight hope that he may rescue the 13th Ga, but even if he doesn't he knows his veteran troops will crush the dismounted Yankee cavalry and infantry defending the bridge. He joins the 61st Ga for the charge.
What of the 13th Ga? They had three options:
1. Run like hell, back over the bridge. They may make it through the enemy fire, to safety. Then they see the 61st Ga charging towards the far end of the bridge. Delete Option 1.
2. Chase the gunners through Pekkerville and find somewhere nice, out of Early's sight, to surrender.
3. Reform line and fire into the flank of the 5th Me. The dismounted cavalry are just a nuisance and can be ignored.
Their commander, pistol drawn for some reason, chose Option 3, the 13th Ga being too tired, after their charge, to chase even a barmaid.
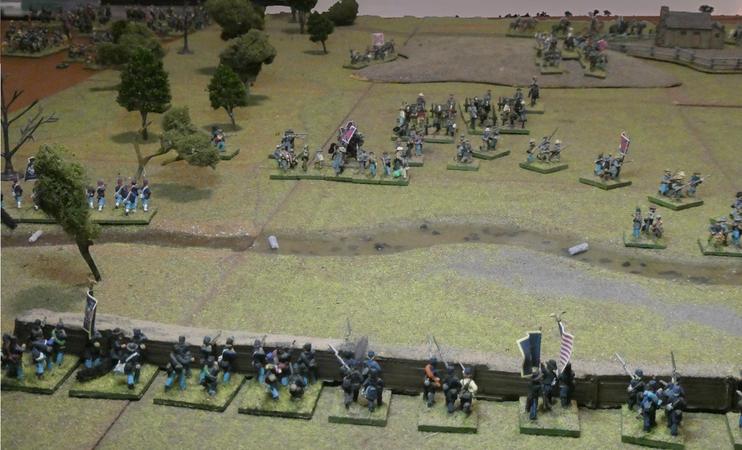
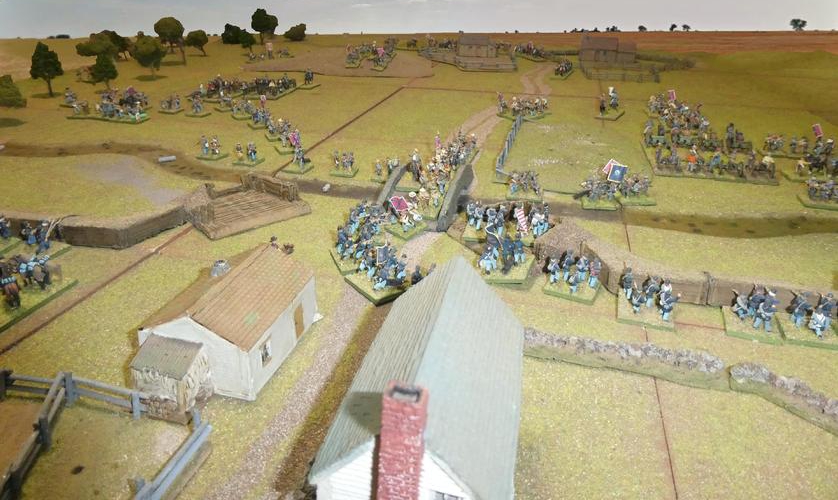
Now you see them. 13th Ga forming line behind the battery they have just captured. The 1st WV CAV are to their rear and the 61st Ga is coming over the bridge.^
Phase 7- Moving Fires. The 1st WV CAV had formed up, facing the backs of the reformed 13th Ga. I explained the rules about friendly fire to Bill. It's not a common inclusion in most wargames rules with which I'm familiar, but is more common than most military forces would like to admit. In JRII any friendly unit which is in the primary firing arc of another unit may take casualties from that unit's fire. It’s a simple procedure- if you roll a double for the unit’s fire then half the hits (rounding up as usual in the rules) are taken by the friendly unit/s in the firing unit’s primary arc.
Bill rolled, didn't get a double and his fire wiped out the remaining members of the 13th Ga. On the plus side, the (Green) 31st Va and 9th La, who saw what happened, passed their morale tests. Yay. :-(

Now you don't. Vale 13th Ga.^
There was other firing across the board, but nothing of note- apart from 95th Ga's seeing off the 7th La, which I mentioned. Bill's 5th Maine fired a few shots at the troops charging over the bridge, with little effect.
Turn 14. This is it, the last turn. It's last light and visibility has dropped to four inches. I can force a draw by getting the 60th Ga and 61st Ga over the bridge, as long as one of them remains undisordered. My plan is for the 61st Georgia to swing right and break the 1st WV CAV, while 60th will swing left and take the 5th Me in flank and rear- and probably rout them.
Bill asked about his tactical options. He wouldn’t be able to much with the 5th Me, perhaps refuse their left flank to face the bridge, or fall back into the yard behind them. What about the 1st WV CAV? Once again there were three options:
1. Fall back into the artillery platform and behind the breastworks. They won't gain any benefit from the works, and the charging enemy can still reach, and crush, them.
2. Attempt to stand and fire, using the Rapid Fire option the 1st WV CAV gives him, and hope his troops do stand and stop the charge with their firepower. Risky- dismounted cavalry have no bayonets and the 61st Ga are veterans, and will take some stopping.
3. Throw it all to the winds and countercharge with the dismounted cavalry! Right. A bunch of Green cavalry, not a bayonet between them, who ride horses that possess higher IQ's than their riders, will not only stop, but push back in disorder, one of the Confederate army's best units? I'd like to see that! (Actually, I don't expect that to happen and I most definitely don't want to see it happen!) But it's another good lesson on the rules, so Bill chooses that option.
The crunch. 61st Ga clears the bridge and 1st WV CAV wheels left in a counter charge.
The rest of the battlefield holds still. Only the deciding combat is played, the fight upon which victory or a draw will depend....
5th Me attempted to slow them with fire during the First Fires phase, but the fire was ineffective. Because the 1st WV CAV have charged they don't have to do a fear of charge morale test, their weak spot. Not only are they rated as Green when they're dismounted, not having the security of their (much smarter) horses with them affects their morale. So we skip to the impact test. 1st WV CAV have an MMP of 4, 61st Ga also has 4 (charging in March Column added 3 to their MMP). The dice are rolled, adding the score to the MMP. Lowest score wins.
Bill threw a 7.
I threw an 8......
Bugger! Repulsed and shaken.
So Bill wins the impact and 61st Ga (soon to be know as "Penal Battalion 61") are thrown back, shaken. They push the 60th back off the bridge in their hurry to get away from those bloody cavalry. The sun sinks, last light fades and General Jubal Early, looking at the ruin of his division, wonders whether he'd get more success and satisfaction if he changed careers and become a grocer.
RULES COMMENTS.
I forgot one other house rule we use. Instead of the four morale ratings given in the rules ("Elite", "Average", "Green or Tired" and "Militia or Poor"), I have five, adding "Veteran" to the other four. I base the morale ratings of my units on those of one of my favourite board wargames, SPI's Terrible Swift Sword, using the 2nd Edition ratings. (Long out of Print, but it may be available on a re-seller site, like Gumtree, or from Noble Knight Games. Alternatively you can download counter scans from SPI Wargame Resources.) The units are rated 6 to 2, "6" being the best and indicates elite troops- a very rare species indeed. I could have rolled "Veterans" into the Elites and left the rule's morale ratings as they were, but there were some real elite units in both armies- the US 24th Michigan and 2nd Wisconsin, for example, and Letcher's Battery of the CSA. I wanted a way to acknowledge these really distinguished units. The new morale category can be ignored, too.
I like the JRII rules. I've played Fire and Fury (though not the Regimental variant), Rally 'Round the Flag, Black Powder and others, but JRII seem to capture what I know (not much, admittedly) of the ACW. They do have some issues, though. I think "Saving Rolls" are unnecessary (some gamers like them) and could be rolled into the combat charts. The charge procedure is unnecessarily complex, though I agree with the premise that melee was rare and one side or the other would give way before it got to melee (ie the "Impact" test). Having base sizes vary with the number of figures on a base has been complained about, but I like it- bigger units take up more room. There's a lot of charts and they are not organised terribly well on the Quick Reference Sheet. Lastly the index gives references to rules sections, not pages. I'm working on my own versions of the charts, hopefully to make the QRS more user-friendly, and I will write in the page numbers in the index.
The scenario worked fairly well, and Bill's tactical sense was working very well. However, extending the time by four turns, to 18 (3.5 hours) will give the CSA player time to deploy and attack properly- especially if you add the breastworks, as I did this time. Also, with the narrower table it might be an idea for the number of US units placed in ambush to be reduced, perhaps to two, as the entering forces can't side-step the farms. The losses my cavalry incurred in the first turn were very heavy. Allowing infantry to be in close support of the cavalry may also help to clear the eastern farms more quickly, reducing the time it takes to finally get the CSA troops on the table. But Bill earned his win, no doubt about that.